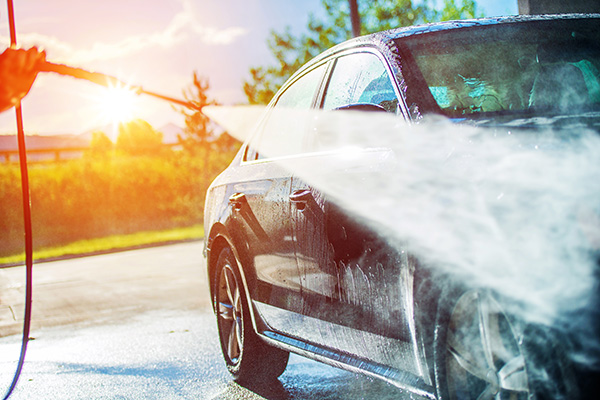
Washing your car at home can be a rewarding experience, especially when you see it shine like new afterward. While it might seem like a simple task, there’s a right way to ensure your vehicle looks pristine without causing any damage to its paint or finish. Plus, giving your car a proper wash can help maintain its value and protect it from the elements. So, how do you go about cleaning your car like a pro from the comfort of your driveway?
Why Wash Your Car at Home?
You may wonder why it’s even worth the effort to wash your car at home when there are so many drive-through car washes available. While convenient, automated car washes can often leave behind scratches or miss certain areas. Doing it yourself allows you to give your car the attention it deserves, and with the right approach, it can also be more cost-effective in the long run. Moreover, regular washing helps prevent the build-up of dirt, grime, and harmful contaminants that can erode your paint over time.
Washing your car at home is not just about aesthetics either—it’s about maintaining the integrity of your car’s exterior. So, let's jump into the essential steps to get that showroom shine.
What You’ll Need to Get Started
Before diving into the actual process, you’ll need to gather the right supplies. The quality of your car wash will depend on the tools you use, so here’s a list of items to have on hand:
- A bucket (or two if you're using the two-bucket method)
- A high-quality car wash soap (avoid dish soap as it strips wax)
- A microfiber wash mitt or sponge
- A hose with a nozzle attachment
- Microfiber towels or chamois for drying
- Wheel cleaner and a soft brush for rims
- Tire cleaner or tire shine for the finishing touch
- Optional: Clay bar, wax, or sealant for added protection
Now that you have your supplies ready, let’s move on to the washing process.
Step 1: Rinse Your Car Thoroughly
The first thing you’ll want to do is give your car a good rinse. This initial rinse helps to loosen and remove any large dirt particles that can scratch the paint if you start scrubbing right away. Use a hose with a nozzle attachment to spray water over the entire surface of your vehicle, including the wheels and undercarriage. Make sure to start from the top and work your way down, allowing gravity to assist in the cleaning process.
Step 2: Use the Two-Bucket Method
Here’s where many DIY car washes go wrong: using dirty water. The two-bucket method helps prevent this. One bucket should be filled with clean, soapy water, and the other should contain plain water for rinsing your wash mitt or sponge. After each pass with the soapy mitt, dip it into the rinse bucket to remove dirt and grime before dipping it back into the soapy water. This minimizes the risk of scratching your car's surface.
Use a microfiber wash mitt to gently scrub your car, starting from the top and working your way down to avoid spreading dirt. Be sure to focus on areas like the hood, roof, and doors before moving on to the lower sections where dirt tends to accumulate.
Step 3: Pay Special Attention to the Wheels and Tires
Your wheels and tires are often the dirtiest parts of your car, as they’re constantly exposed to road grime, brake dust, and debris. Use a specialized wheel cleaner and a soft brush to scrub the rims thoroughly. Be sure to rinse them well before moving on to the tires. Applying a tire cleaner or shine at the end will give your car a polished, complete look.
Step 4: Rinse Again and Dry
Once you’ve thoroughly washed and scrubbed your car, it’s time to give it one more rinse. Again, start from the top and work your way down, ensuring all soap and residue are removed. After rinsing, it’s important to dry your car as soon as possible to avoid water spots. Using microfiber towels or a chamois, gently wipe down the entire vehicle, being careful not to scratch the surface.
Some people choose to air-dry their cars, but this can leave spots and streaks, so drying by hand is the best option.
Step 5: Add Finishing Touches
For that extra sparkle, you can apply a clay bar treatment or wax after drying your car. This step isn’t necessary every time you wash, but doing it occasionally can help protect the paint and give your car a glossy finish. A good wax will shield your car from dirt and UV rays, making future washes easier. Sealants can also be applied for long-term protection.
If you want to go the extra mile, give your windows a quick clean using a streak-free glass cleaner. This adds to the overall fresh, clean look of your car. Finally, a tire shine product should be applied to make those tires pop.
Benefits of Washing Your Car Regularly
Washing your car isn’t just about appearances—it’s also about maintaining the health of your vehicle. Dirt, bird droppings, and road salt can corrode your car’s paint if left untreated. Regular washing keeps these contaminants at bay, helping to prevent rust and damage to your vehicle’s exterior.
Keep your car looking and running like new! Book your next inspection or maintenance at Central Automotive Service Center, where we take care of your vehicle with precision and care.